This article will show you how to create an option box field type. An Option Box field shows bullets or bubbles that you can select. Just like a selection from a voter's ballot.
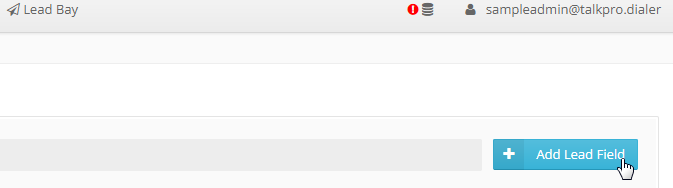
From the admin page, go to CRM then Lead Layouts & Fields.
In the Manage Layout Section, click on Fields Tab then click on Add Lead Field.
Scroll at the bottom to see how many remaining fields you still have on the account.

Choose Select field
Multi-Select - Allows users to select multiple values from a list you define.
After selecting the field it will automatically send you to the next page wherein you need to enter a number of information for the field you are creating.
Here is the following info you need to fill in.
- Field Label - Enter a label to be used on displays, page layouts, reports, and list views.
- Field Name - The Field Name is an internal reference and is used for integration purposes such as custom links, custom s-controls, and the API. Be careful when changing the Field Name as it may affect existing integrations.
- Description - Additional info about the field (Optional)
- Help Text - This text displays on detail and edit pages when users hover over the Info icon next to this field.
- Status - Either show, hide or disable the field.
- Required - Always require a value in this field in order to save a record.
- Field Options - Values that can be selected within the field.

To add a new field option, put the name and value of the new option and press the Add button. The values you created will appear in in the lower part of the page.
Press the Add Field button in the bottom part of the page to create the new field.

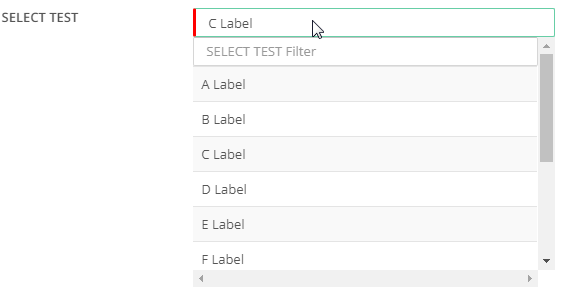
The option box looks like this when viewed in the agent page.
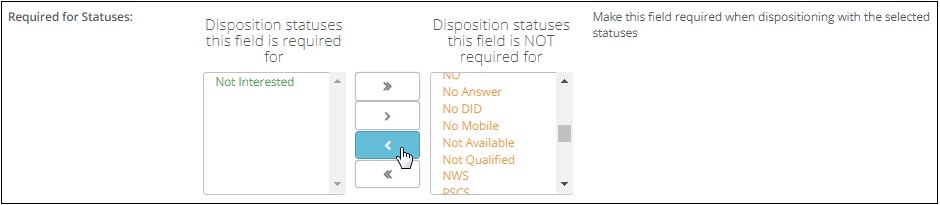
After adding the field, Required for Statuses will appear below.
This feature will allow Admin to have a required status or statuses for this field. Agent will not be able to disposition the lead without using the required status or statuses of the field.
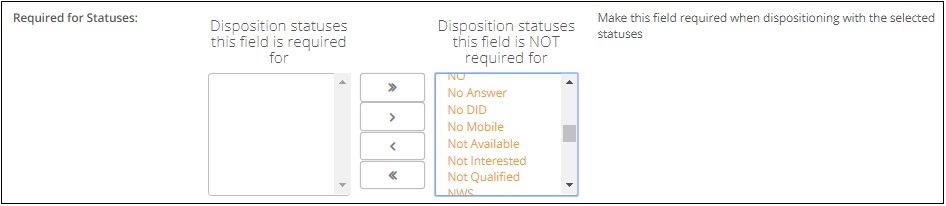
Select the status and click on the less than button to add the status on the Disposition Statuses this field is required for.
Click on Save Changes to apply the settings.
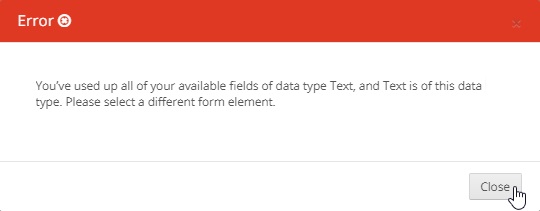
If you tried to add more and your ran our of field space. You will get an error message. "You’ve used up all of your available fields of data type Text, and Email is of this data type. Please select a different form element."